Setup StorX Storage Node manually
What is a storage node ?
A storage node is a critical component in a storage system or network, responsible for storing, managing, and providing access to data. The term can be used in various contexts, depending on the specific technology or architecture involved.
Steps to undergo to get started with the storx for node setup.
- Machine/Server setup
- Installation of the identity file in the device
- Creation of identity file in Machine/Server
- Setting config location
- Installation of the docker in linux
- Execution of the docker command to start node
- Stake SRX token
- Troubleshooting
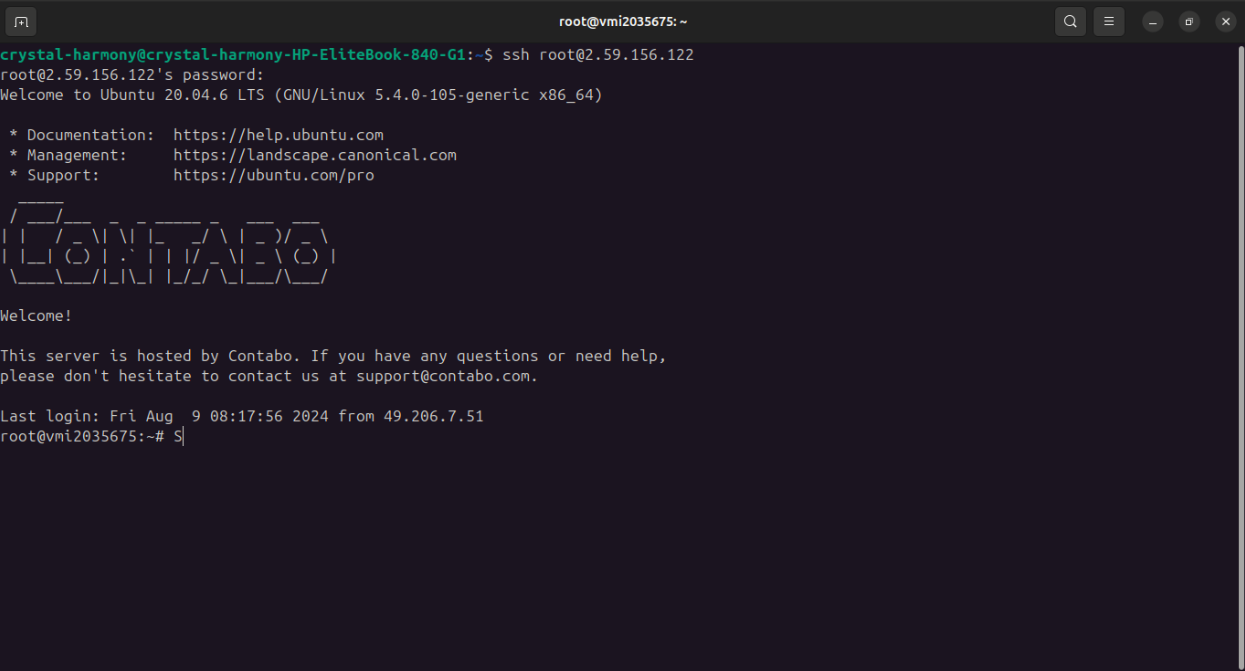
Before we get started with the node deployment. Lets connect with the server using the ssh comand.
- Firstly write the following command in the terminal to start working with the deployment in the server.
- ssh username@enter_your_ip_address —>ssh [email protected]
- Passward:--12312
- Installation of the identity file in the device
-
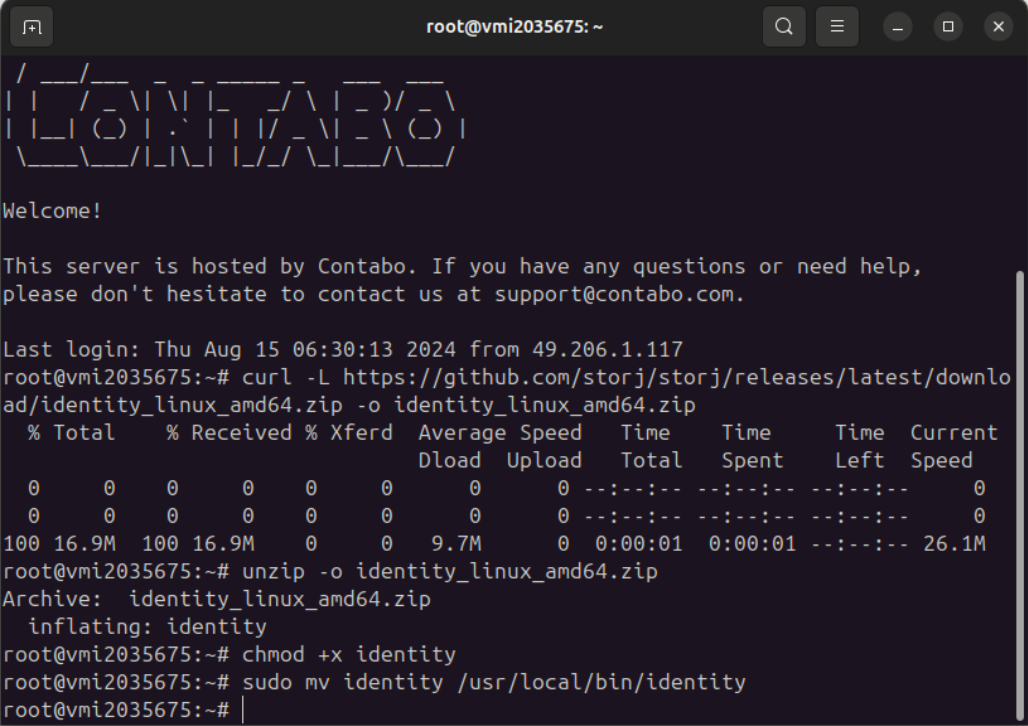
Download the Identity Binary for the linux Open a terminal window as a usual user (not administrator or root), copy and paste the command in your terminal.
-
The above process will install the storage-node directory into your machine. you can view this using the "ls" command in your terminal. You will find the storage-node file with the "identity_linux_amd64.zip" file.
- Creation of identity file in Machine/Server
-
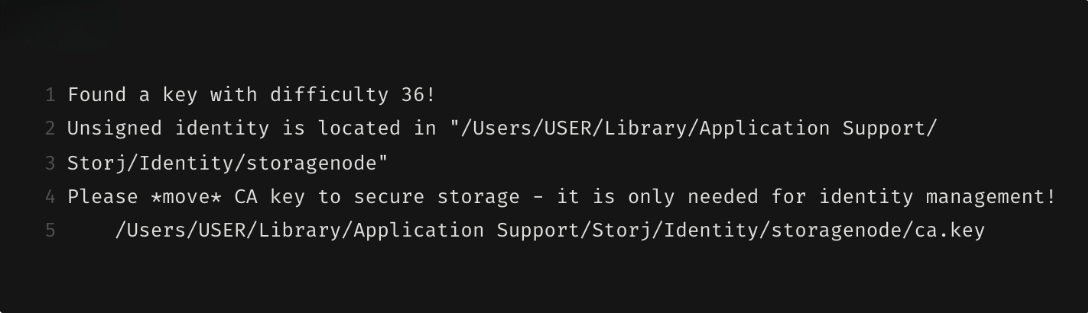
Once you have done with the installation of identity file now you need to create identity file this process will continue until it reaches a difficulty level of at least 36! or more.
-
Use the above command to generate the Identity file.
-
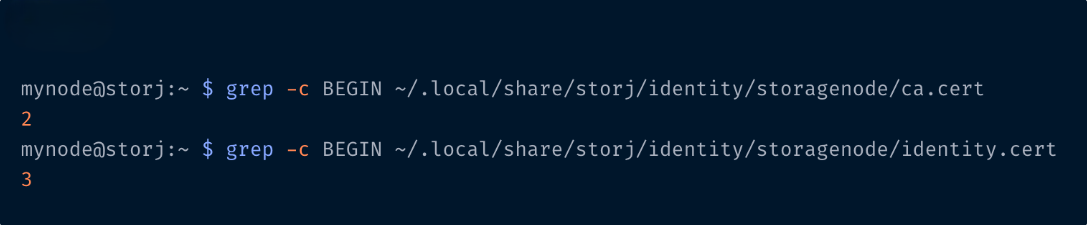
Run the following command to confirm you have the required identity files:
-
The following command will return output as below.
- Setting config location
-
Once config is created on location " /root/.local/share/storj/identity/storagenode". Now we need to create "~/.storx/identity" and "~/.storx/config" directory. And then move identity directory to "/root/.local/share/storj/identity/storagenode/* ~/.storx/identity"
-
Copy the below command to your terminal
-
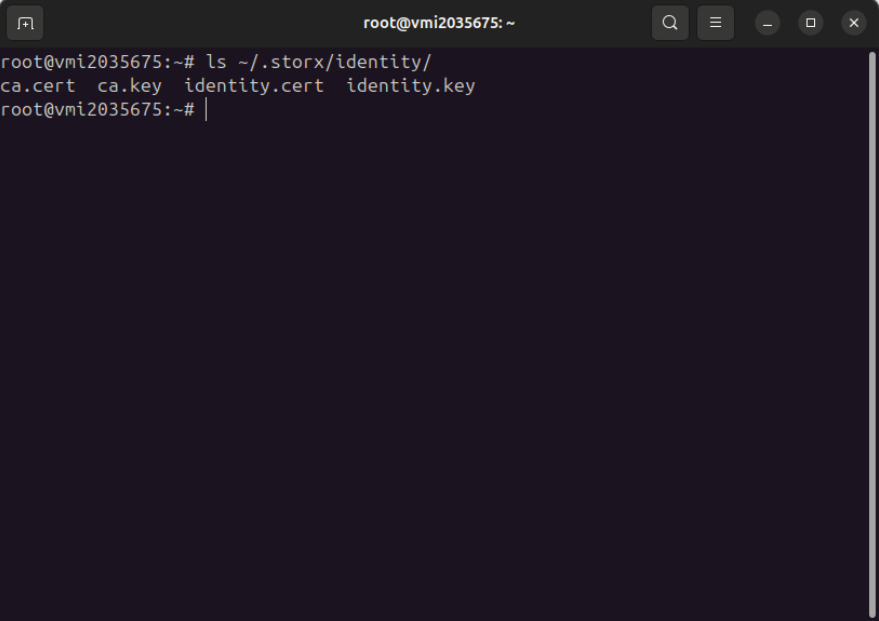
Lets validate the files to check if it is created successfully. Copy the below command into terminal.
-
You should be able to see the output as below in your terminal.
- Installation of the docker in linux
-
Once the docker is installed in the system we can begin with the deployment— Skip the docker installation process if it's already installed.
- Execution of the docker command to start node
-
Run the below command to run a Docker container based on the image.
-
The below command will starts a StorX storage node in a Docker container.
-
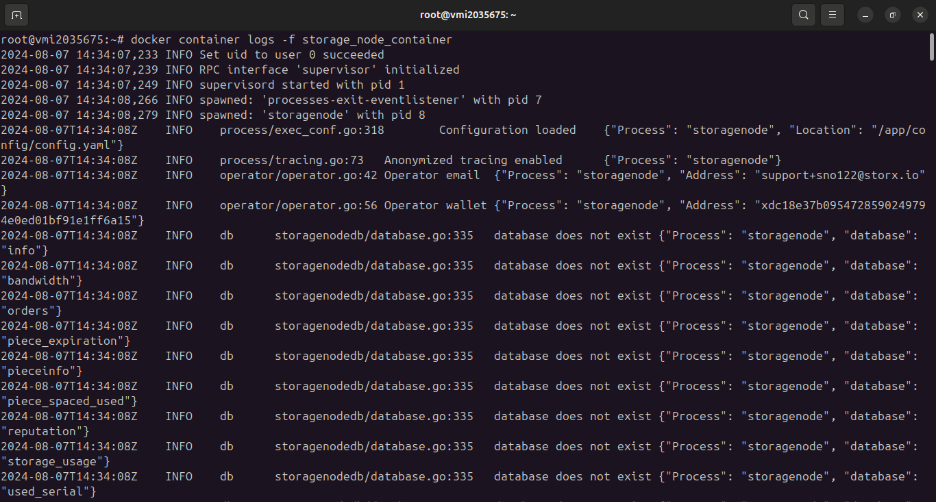
Once you are done with the set up you need to check for the logs if it is working properly using the below command:--
-
Ensure the output is similar to the below image.
-
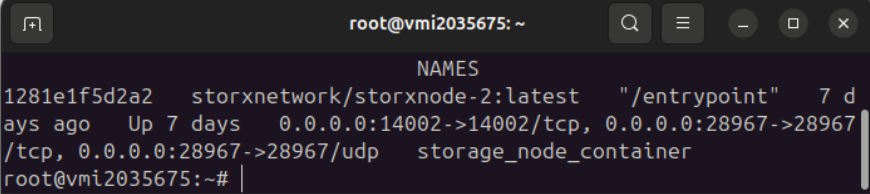
You can check the containers in the docker using the below commands
-
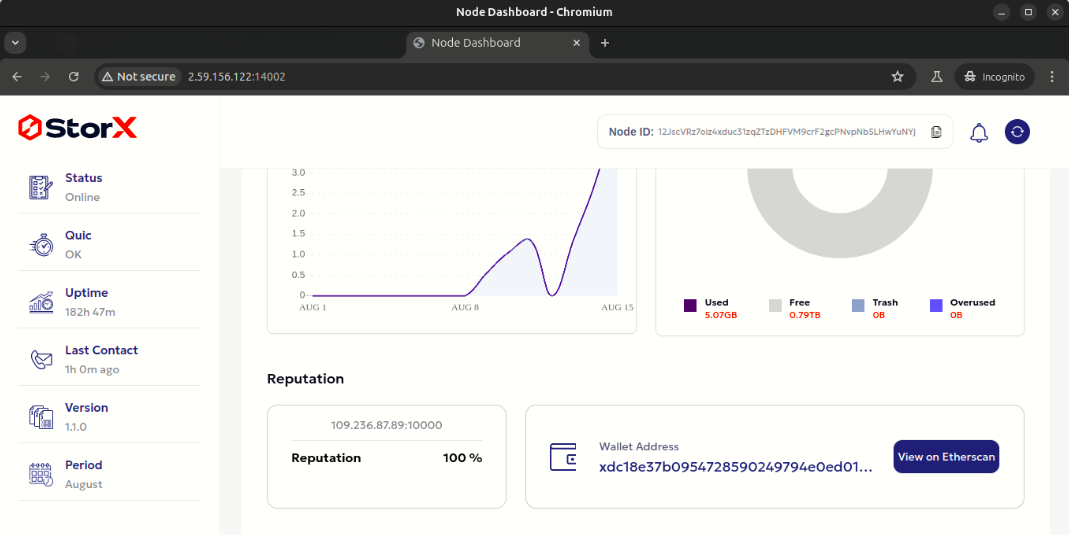
Once the setup is done. Yon can visit your browser and enter the ip address and check if the node is setup properly.
-
In your URL enter the http://your_ip_address:14002
- Stake SRX token
- Once the node is set up, you can check the status of the node setup on this https://farmer.storx.io/.
-
Once you are navigated to the https://farmer.storx.io/.
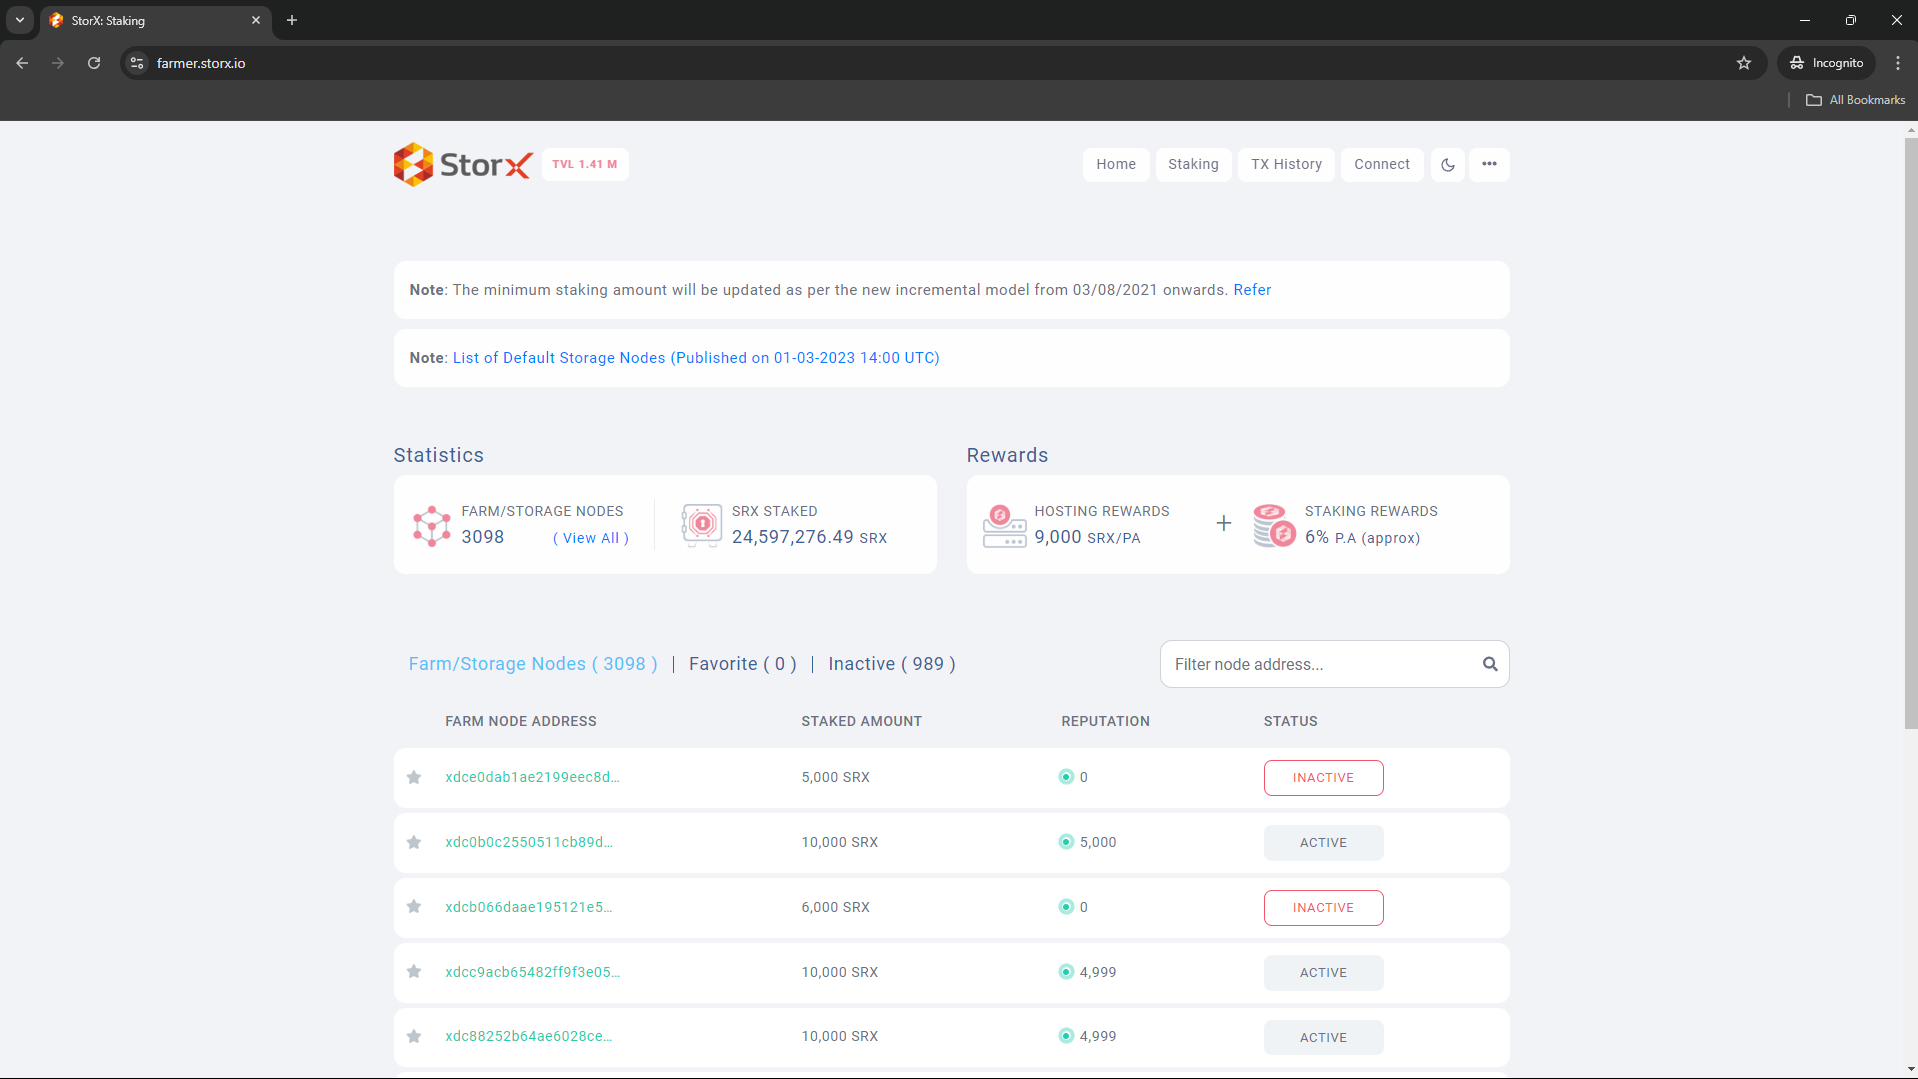
-
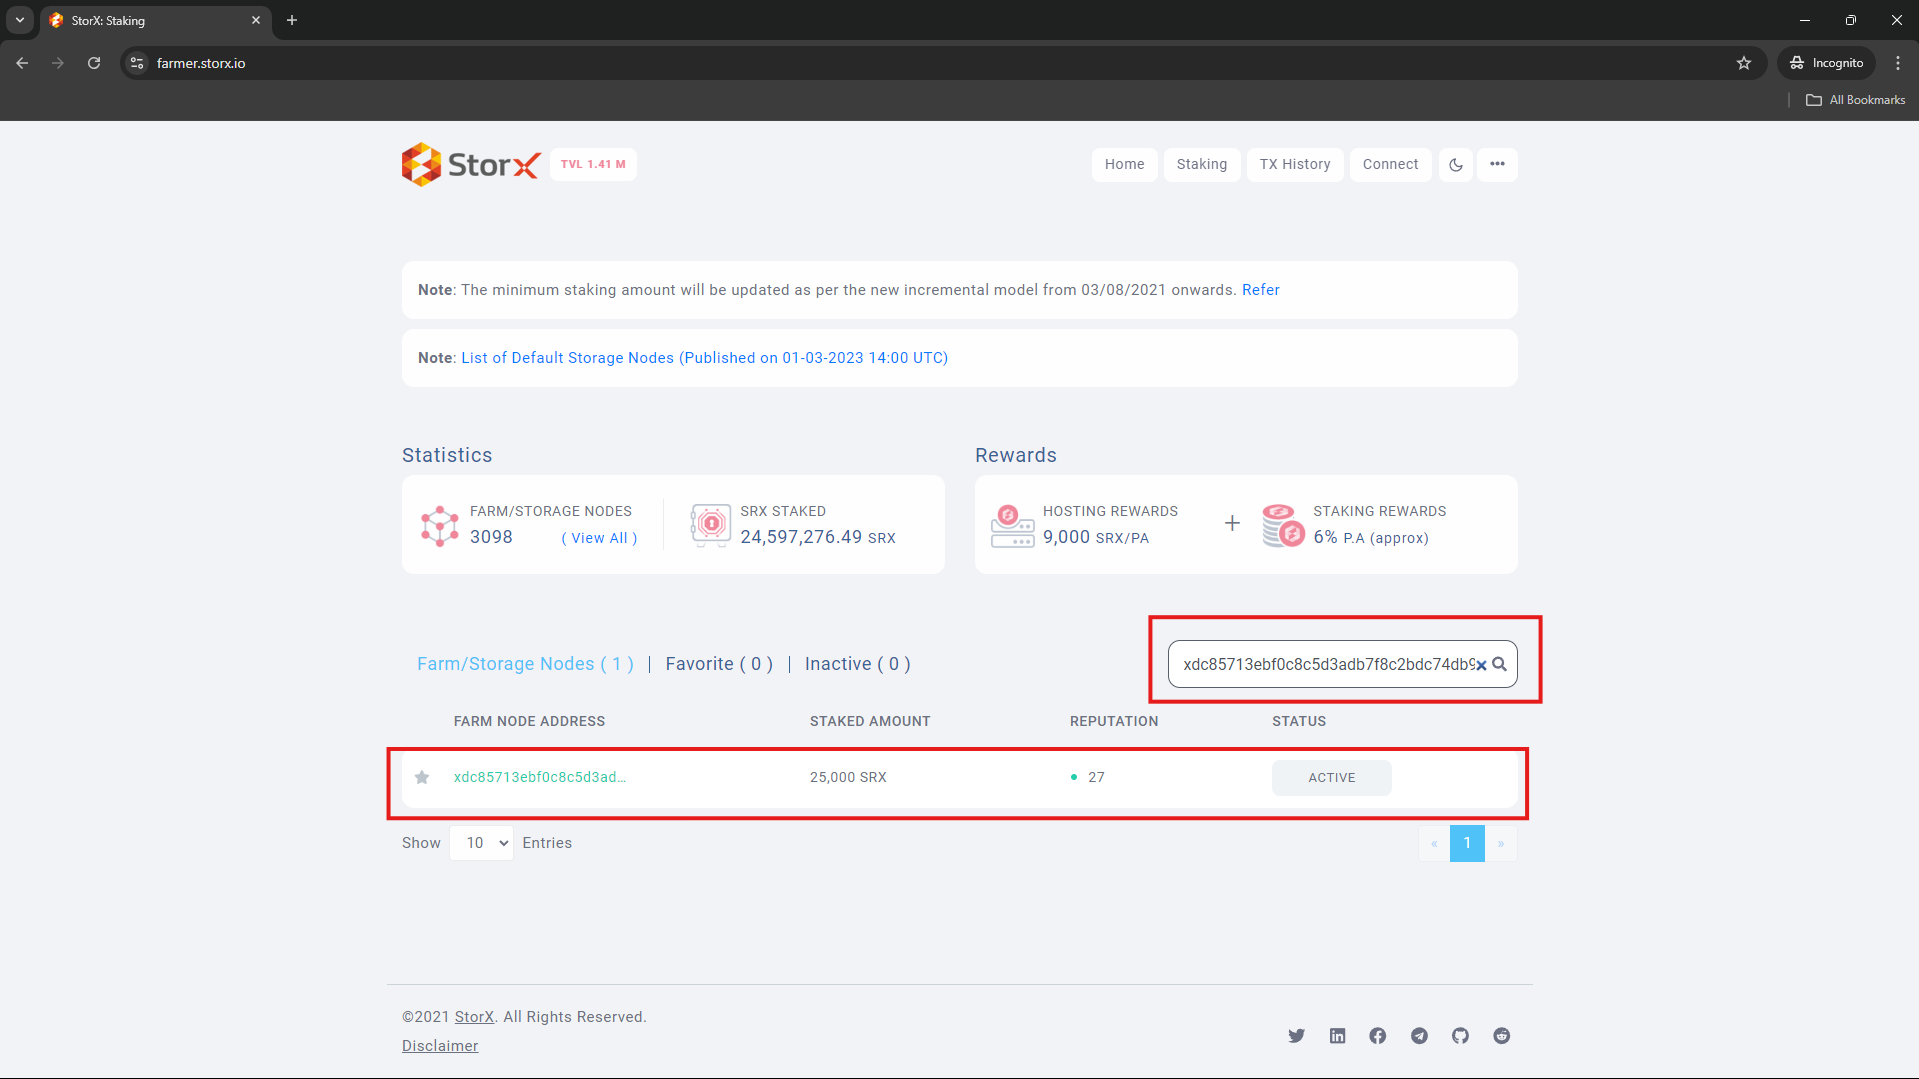
Enter your wallet id into the search bar.
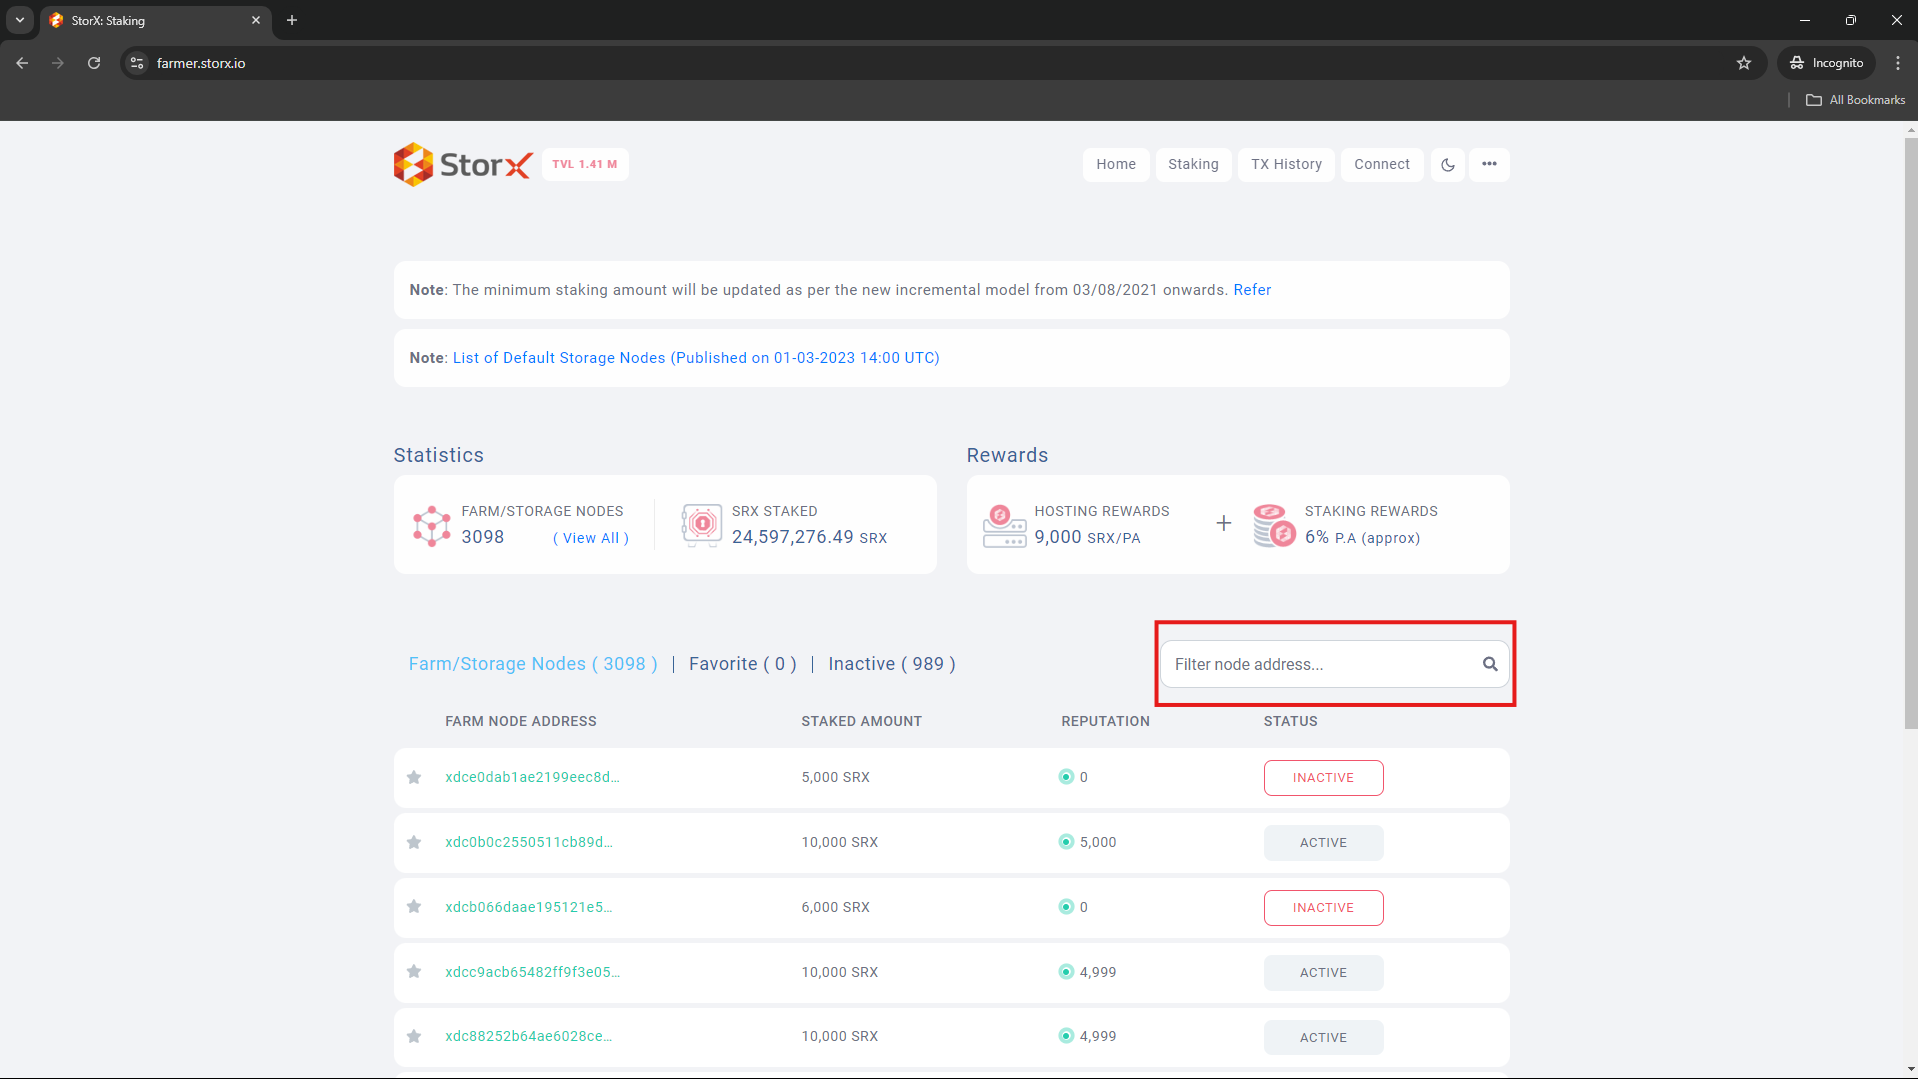
-
Now you will be able to check the status of your node deployement.
- After setting up StorageNode please Stake SRX token from the URL : https://farmer.storx.io/
- IMP Note : You have to stake SRX token to get hosting and staking rewards.
- Troubleshooting
-
Public discussions on the technical issues, post articles and request for Enhancements and Technical Contributions.
Note:- This may take time so wait for the identity file to get generated showing the below interface in your system.
ca.cert ca.key identity.cert identity.key
i. Add Docker's official GPG key:
ii. Add the repository to Apt sources:
iii. Install the Docker packages.
Note:- Before you run the above command set the Wallet, Email ID and the IP Address properly.